Are you looking for a guide on How to Sign a Document on an iPhone? Here is how to do it. Marking papers remains important in a number of industries, including business, law, and finance. The signature serves as evidence of consent and agreement between parties- in a transaction. And it is often required for legal and regulatory purposes.
The use of smartphones and other mobile devices has increased and making it easier and more available to sign papers. iPhones have features and apps that allow users to sign documents electronically, eliminating the need for a physical signature.
Users can save time and resources by signing papers on an iPhone while they are on the go rather than having to print, sign, photograph, and transmit hard versions of them. Because digital signatures can be readily monitored and confirmed. It offers a safer and more dependable method of signing papers.
How to Download a Signing App
Users can sign documents using a variety of applications that are accessible in the App Store. Some of the popular apps include Adobe Sign, DocuSign, SignNow, and HelloSign. These applications offer a number of features- the capacity to safely import, sign, and exchange papers.
How to Get and Download the signature app for Your iPhone
- Open the App Store
- Type the name of the signing app you want to download in the search bar
- Tap on the app when it appears in the search results
- Make sure the program is the right one for you by looking at its ratings, reviews, and summary.
- Click “Get” to start the installation.
- Enter your Apple ID password or use Touch ID or Face ID to confirm the download and installation process
- Wait for the iPhone software to download and activate.
Once the app is installed, you can open it and begin using its features to sign documents electronically. For full access to some apps’ functions, users may need to create an account or buy a plan. You can select the program based on your requirements and financial situation.
How to Import the Document
Import the document that needs to be signed. The signing app allows users to import documents from various sources such as- iCloud, Dropbox, or Google Drive.
Follow these steps to import a document:
- Open the signing app
- Tap on the “Import” or “Upload” button
- Choose the source that you want to import the text from
- If you choose iCloud- navigate to the folder where the document is stored, and tap on it to select it. If you choose Dropbox or Google Drive- sign in to your account and locate the document you want to import.
- Tap on the document to select it,
- Then tap “Import” or “Upload” to import it into the signing app.
- Wait for the document to upload and process.
- Some signing apps allow users to import documents directly from email or messaging apps. You can move a document from the storage of your iPhone if it is stored there by selecting the “Import from Device” option and selecting the document.
Now you can proceed to add your signature to it using the signing app’s features.
How to Sign a Document on an iPhone
Now you can add your signature to it. The signing app provides different ways to add a signature- importing an existing digital signature or creating a new one using your finger or camera.
Follow these steps to add your signature to the document,
- Open the document in the signing app
- Tap on the area where you need to add your signature
- Choose the option to add a signature
- By picking the “Import Signature” option as well as choosing the signature file from your device’s storage or cloud-based storage service, you can import a current digital signature.
- If you want to create a new name- you can choose “Create Signature.”
- If you choose to autograph something- use your finger, a pen, or a camera. Choose “Finger” from the menu to draw your signature with your finger by doing as the on-screen directions advise.
- If you decide to use the camera- choose “Camera” from the menu. Then place your iPhone close to a piece of paper that bears your autograph. Your signature will be recognized by the software. And you can change the height and location of it on the paper.
- When finished- save the document by clicking the “Save” or “Done” option.
- Check the document after adding your name and make any required changes before uploading the signed version. In some signing software- users can optionally mark the document with their initials or something else.
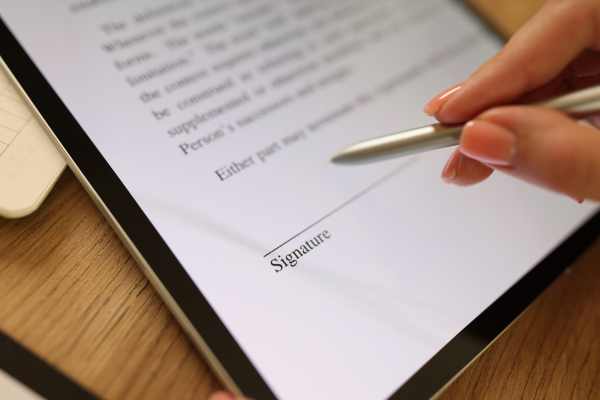
How to place the Signature
Now place it in the correct location where it is required. The signing app allows users to place their signature precisely on the document using their finger or stylus. Follow these steps to place your signature:
- Open the document in the signing app
- Tap on the area where you need to add your signature
- Choose the option to add a signature
- If you have already created then select it from the list of signatures
- Use your finger or stylus to move the signature to the correct location on the document.
- Use the pinch-to-zoom gesture to resize the signature if necessary
- Preview the document to ensure that the signature is placed correctly in the required location.
- You can use your finger to shift the signature exactly to the desired spot on the paper if it needs to be matched with a particular line or text. Some signing apps also provide tools such as grids or guides to help users align their signatures accurately.
After placing your signature, you can save the signed document and share it with others as needed. The signed document can easily be shared via email, chat applications, online storage services, or other common file formats after being stored as a PDF or another common file format.
How to save and share the Document
Now save the signed document and share it with the relevant parties. The signing app provides various options to save and share the signed document.
- To save the signed document, tap on the “Save” or “Done” button.
- The app will prompt you to choose a name and file format for the signed document.
- Choose a name for the signed document. Select the file format to save it.
- You have the option to replace any current files or save the signed document as a new one. If you are signing an existing document.
- After saving the signed document- you can share it with others via email, messaging apps, or cloud-based storage services.
- To share the signed document- choose the “Share” or “Send” option in the app.
- Select your preferred sharing method from the options allowed by the program, such as email, messaging apps, or any other way.
If you choose to share the signed document via email or messaging apps, you can add recipients, subject, and a message to the email or message.
After adding the necessary details, send the email or message containing the signed document to the relevant parties.
- Top 8 AI Workout Tracking Applications for iPhone
- How To Take The Ultimate iPhone Night Photos
- How to Fix It When an Android Isn’t Receiving Texts From iPhones
Conclusion
Signing documents on an iPhone has become an essential task in today’s digital age. Users can quickly sign papers on their iPhones and share them with others with the aid of signature applications.
Users can import a document, add their signature, position it in the proper spot, save the signed document, and share it with the appropriate parties by following the instructions provided in this piece. With these tools, signing documents has become faster, more convenient, and more secure.