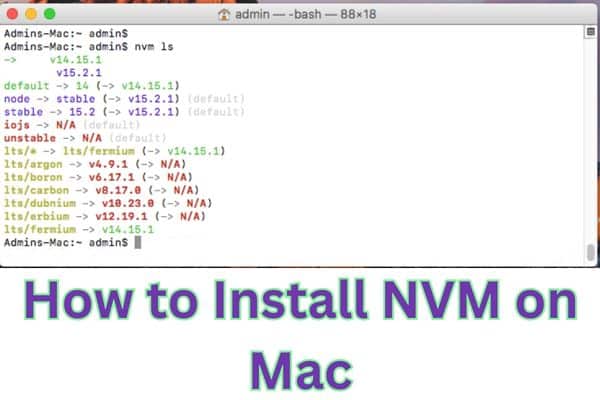
Are you struggling to manage different versions of Node.js on your Mac? Learn how to install NVM on Mac and easily switch between Node.js versions for enhanced development flexibility.
Node Version Manager tool allows developers to manage multiple versions of Node.js on their machines. With NVM you can easily switch between different versions of Node.js and install global npm packages specific to each version. We will cover the process of installing NVM on your Mac and enabling you to have greater flexibility in your Node.js development environment.
Prerequisites:
Check you have the following prerequisites:
- A Mac computer running macOS.
- A stable internet connection.
- Terminal or any command-line interface installed on your Mac.
Easy Steps to Install NVM on Mac
Step 1: Install Homebrew (Package Manager for Mac):
To install NVM, we’ll be using Homebrew, a popular package manager for macOS. Follow these steps to install Homebrew:
- Open Terminal on your Mac. You can find it in the “Applications” folder under “Utilities.”
- Copy and paste the following command into the Terminal:
bash
/bin/bash -c "$(curl -fsSL https://raw.githubusercontent.com/Homebrew/install/HEAD/install.sh)"
- Press Enter and follow the steps to complete the installation.
Step 2: Install NVM:
Now that Homebrew is installed, we can proceed to install NVM using the following steps:
- Open a new Terminal window or tab (if you closed the previous one).
- In the Terminal, run the following command to install NVM using Homebrew:
brew install nvm
- After the installation is complete, add NVM to your shell profile by running the command:
bash
echo 'export NVM_DIR="$HOME/.nvm"' >> ~/.bash_profile
echo '[ -s "$NVM_DIR/nvm.sh" ] && . "$NVM_DIR/nvm.sh"' >> ~/.bash_profile
Note: If you are using a different shell, such as Zsh, replace ~/.bash_profile with ~/.zshrc in the above commands.
Step 3: Verify the NVM Installation:
Check NVM has been installed successfully, close the current Terminal window or tab and open a new one. Then, run the following command to verify the installation:
css
nvm --version
If NVM is installed correctly, it will display the version number.
Step 4: Install Node.js using NVM:
With NVM installed, you can now install your desired version of Node.js. :
- In a new Terminal window or tab, run the following command to list all available Node.js versions:
nvm ls-remote
- Choose a specific version from the list and install it by running the following command, replacing <version> with the desired Node.js version:
php
nvm install <version>
- After the installation is complete, set the installed version as the default by running:
perl
nvm use <version>
Congratulations! You have successfully installed NVM and a specific version of Node.js on your Mac.
FAQ:
Q: What is NVM?
A: NVM (Node Version Manager) is a tool that allows developers to manage multiple installations of Node.js on their machines. It provides an easy way to switch between different versions of Node.js and install global npm packages specific to each version.
Q: Why should I use NVM?
A: NVM offers several benefits for developers:
- Flexibility: NVM allows you to easily switch between different versions of Node.js, enabling you to work with specific versions required by different projects.
- Testing: You can test your applications on different Node.js versions to ensure compatibility.
- Stability: NVM allows you to keep a stable version of Node.js for your production environment while using the latest version for development.
- Global Package Isolation: Each version of Node.js managed by NVM has its own isolated set of globally installed npm packages.
Q: Can I use NVM on Windows or Linux?
A: While NVM was initially developed for Unix-based systems like macOS and Linux, there is a separate version called nvm-windows that is specifically designed for Windows users. Linux users can also use the original NVM tool.
Q: Is NVM the only way to install Node.js?
A: No, NVM is just one of several methods to install Node.js. Other methods include using package managers like Homebrew or apt-get on Linux, downloading the Node.js installer from the official website, or using a cloud-based development environment that provides Node.js installations.
Q: Can I uninstall Node.js versions installed with NVM?
A: Yes, you can uninstall specific Node.js versions installed with NVM. To do this: use the command nvm uninstall <version>, replacing <version> with the version number you want to remove.
Q: How can I update NVM itself?
A: To update NVM to the latest version, you can run the following command in your terminal: nvm install node –reinstall-packages-from=node. This command installs the latest version of Node.js, which includes the latest version of NVM.
Q: Can I use NVM with package managers like npm or yarn?
A: Yes, NVM works seamlessly with package managers like npm and yarn. When you switch between Node.js versions using NVM, the corresponding npm or yarn version will be used automatically.
Q: Are there any alternatives to NVM?
A: Yes, there are alternative tools for managing multiple Node.js versions, such as nodenv, n, and Volta. Each tool has its own unique features and capabilities, so you can choose the one that best suits your requirements and preferences.
Q: Can I use NVM in a production environment?
A: While NVM is primarily used for development purposes, it is not recommended to use it directly in a production environment. Instead, it is advisable to use a stable and specific version of Node.js without NVM in production. NVM is most useful for managing different Node.js versions during the development and testing stages.
Q: Is NVM limited to Node.js? Can I use it for other tools?
A: NVM was originally developed for Node.js version management. However, some community versions of NVM, like AVN (Any Version Node.js), support managing other tools like Ruby, Python, and more. Be sure to check the specific features and capabilities of the version management tool you are using.
- How to download kali linux on Windows 10
- How to Turn Off Caller ID on Android for Ultimate Privacy
- How to fix Telegram on iPhone and Android Phones
- How to fix Telegram connecting problems on Android or iPhone
- How to fix Gmail notifications on Android
Conclusion:
Installing NVM on your Mac allows you to effortlessly manage multiple versions of Node.js, making it easier to work on different projects with specific requirements. With these steps, you should now have NVM up and running on your Mac, ready to enhance your Node.js development experience.